- Sculpture
- >
- How to Papier-mâché
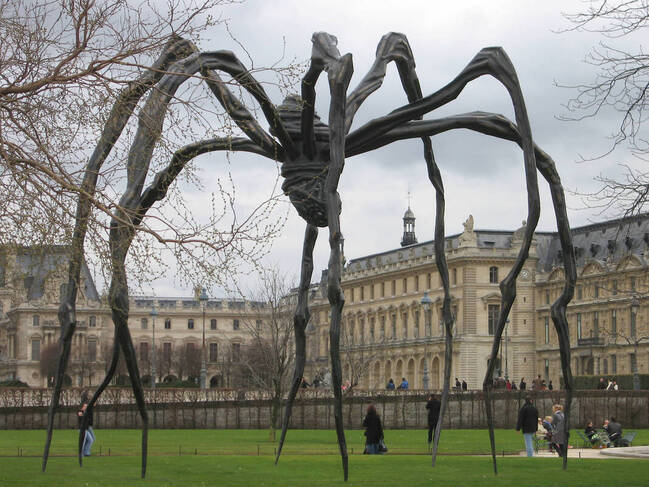
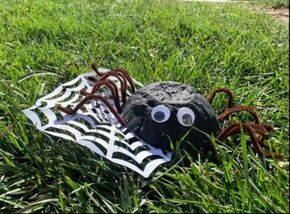
Louise Bourgeois created the spider in the mid-1990s when she was already in her eighties! It exists in a wide variety of sizes, including some that are humongous. The sculpture is meant as a tribute to her mother who was a tapestry restorer. Just like Bourgeois, you can create a sculpture as a tribute to someone!
Papier-mâché is a material that can be used to cover just about any surface.
You can mold it into whatever shape you want when it's wet and then it will dry and harden that way.
Follow this recipe below on how to make your own papier-mâché to use in creating your sculpture!
You can mold it into whatever shape you want when it's wet and then it will dry and harden that way.
Follow this recipe below on how to make your own papier-mâché to use in creating your sculpture!
Step 1 : Mix Flour and Water
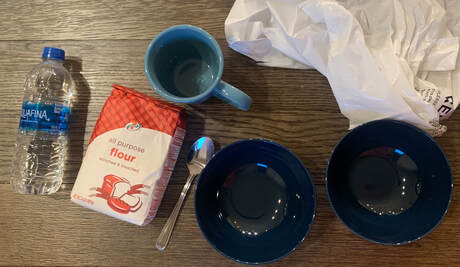
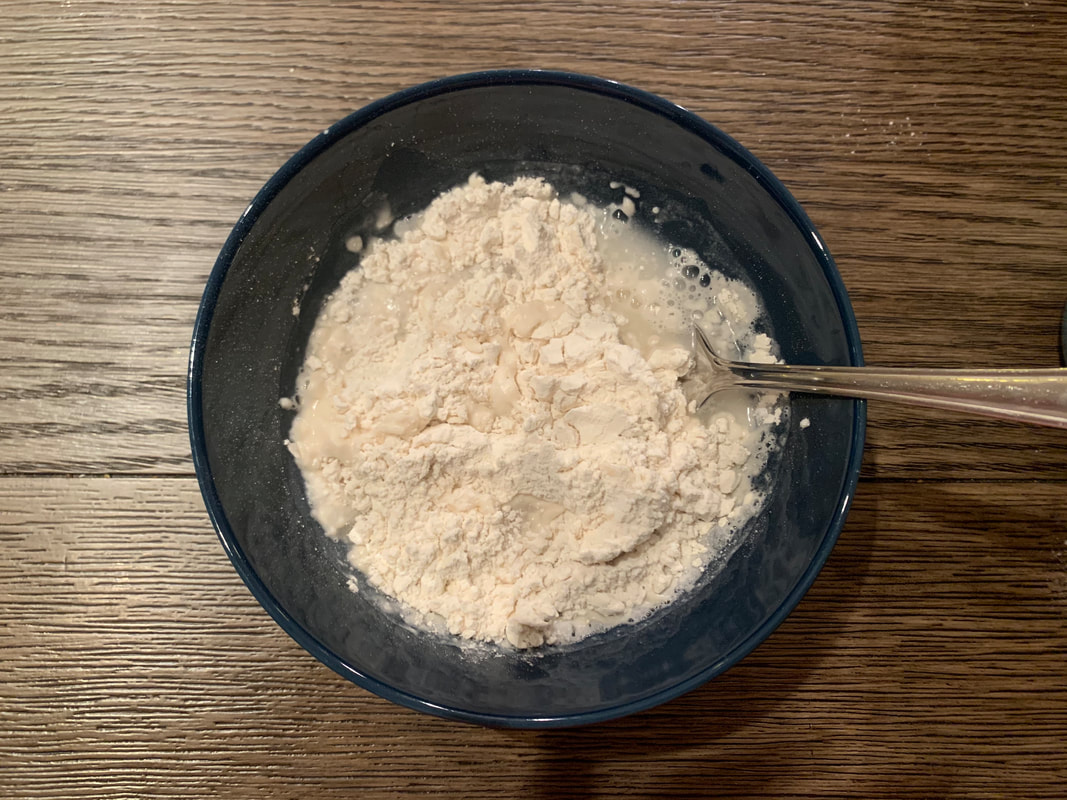
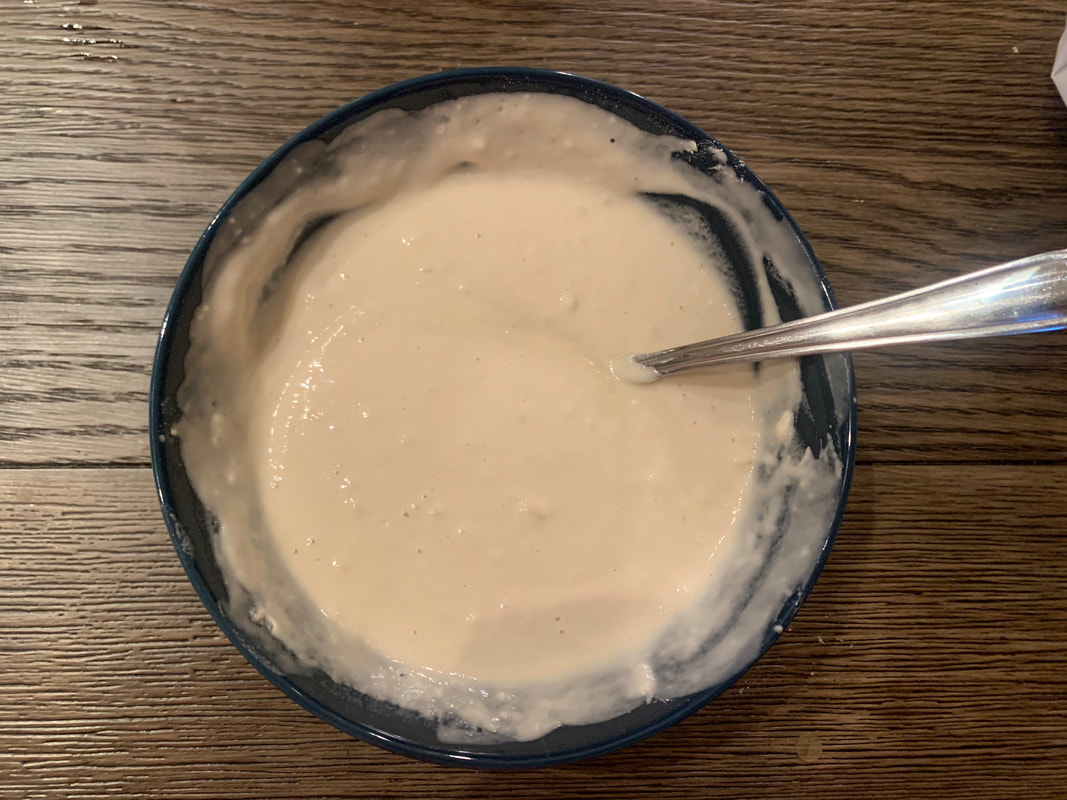
Take a bowl and add 1 cup of flour and 1 cup of water. Stir well until you get the glue-like texture.
Step 2 : Paper Strips
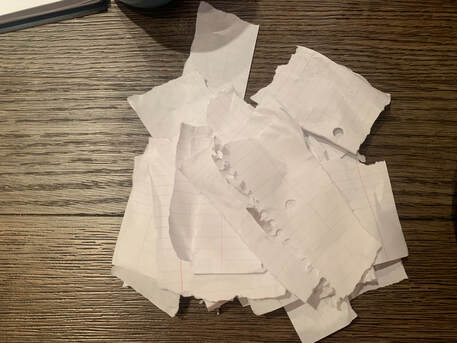
Tear paper into many pieces! There is no specific size or shape, so feel free to tear anyway you want!
Step 3. Cover your surface
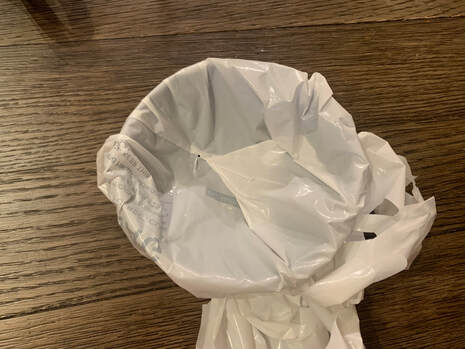
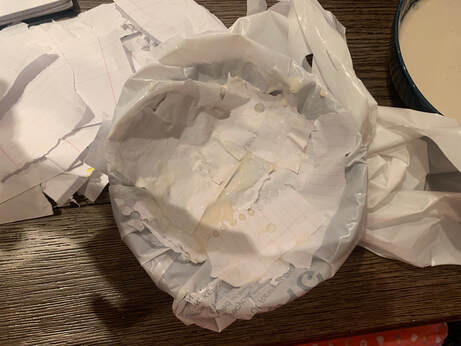
Cover your surface with a plastic bag, or apply a light layer of vaseline. It will make it easier to remove the papier-mâché after it dries. It is also a good idea to line the table with plastic wrap or something else to help make clean up easier!
Step 4. Dip your paper strips
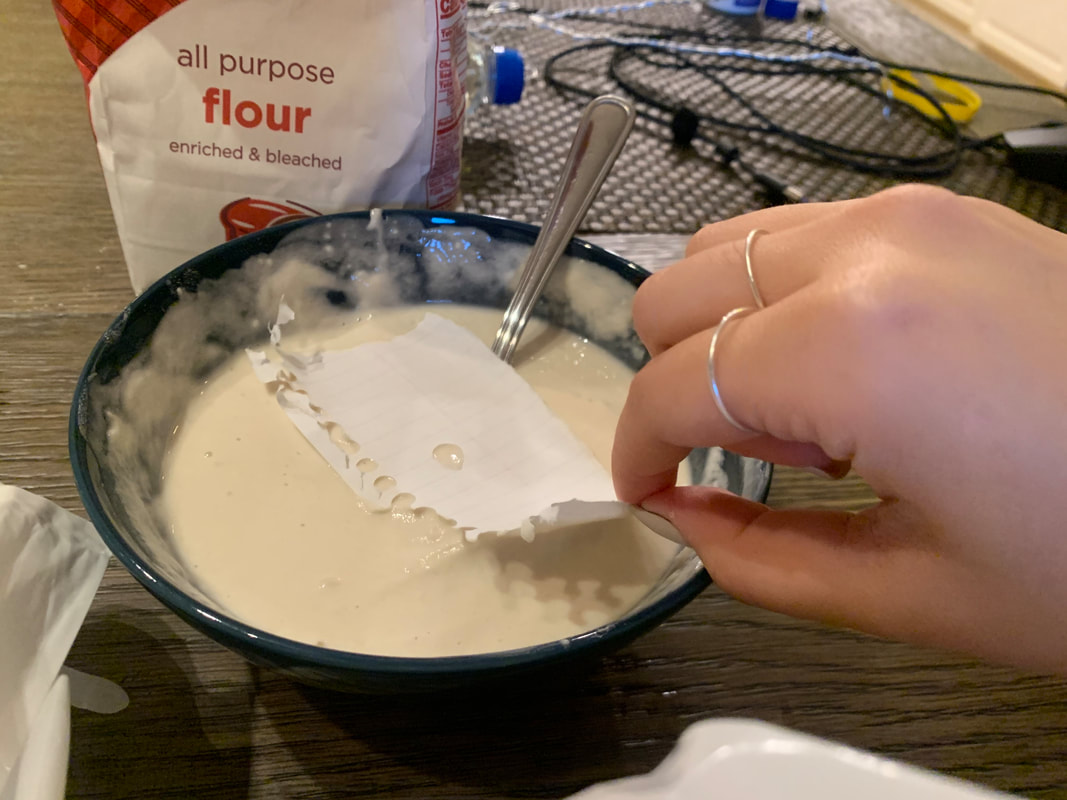
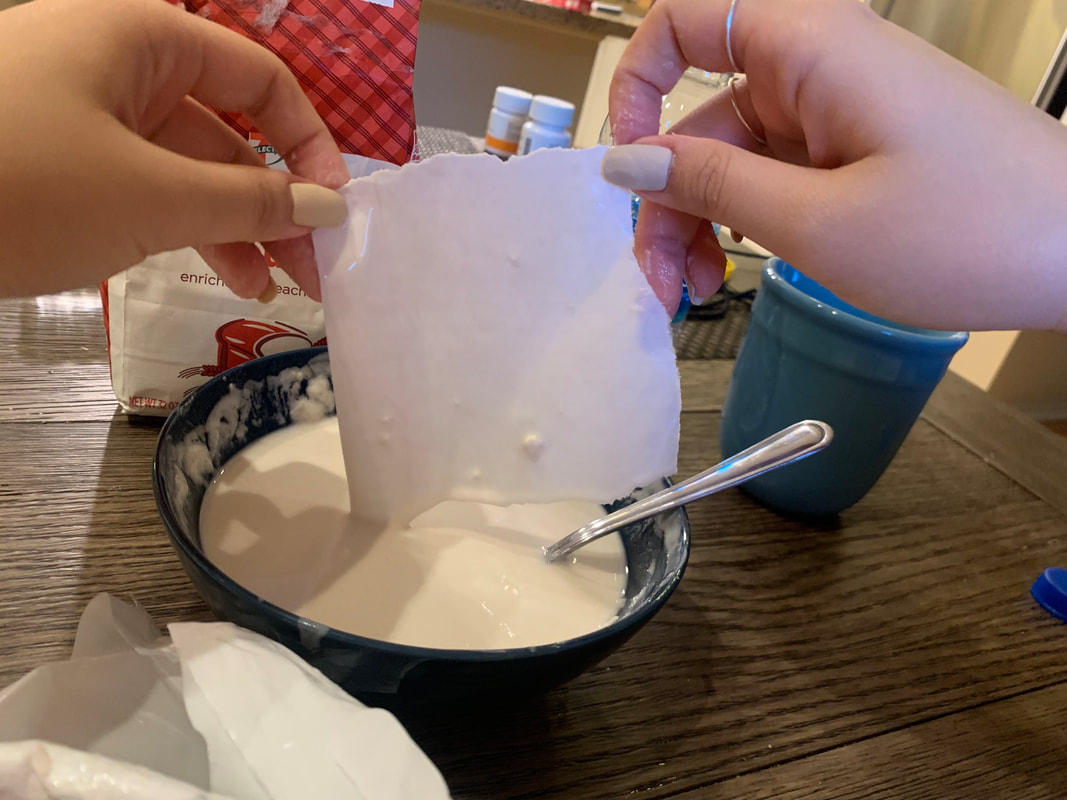
Dip one side of your paper strip into the mixture! Make sure to only dip the one side to prevent it from becoming too wet.
Step 5. Stick your paper strips to the surface
Using the paper strips that have already been dipped in the mixture, place it on the surface. Repeat these steps until there are multiple layers covering the entire surface. Be sure to make it smooth and even. Multiple layers are important as they help to build a strong base for the sculpture.
Step 6. Leave to dry
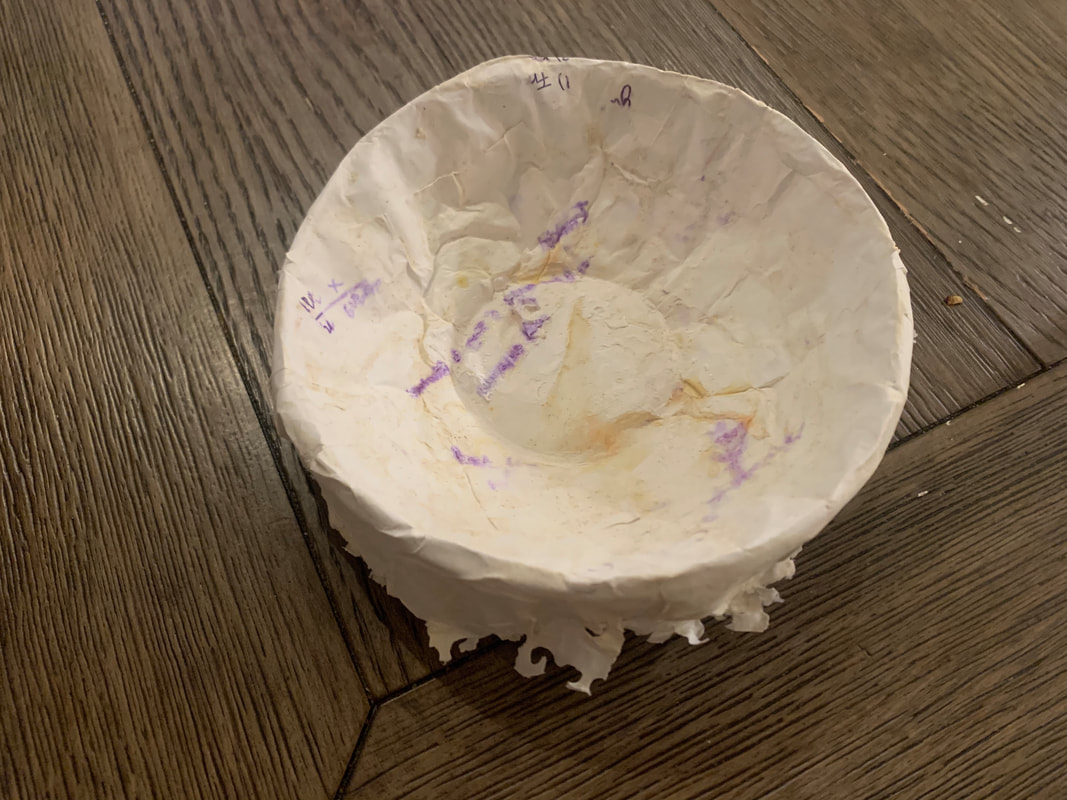
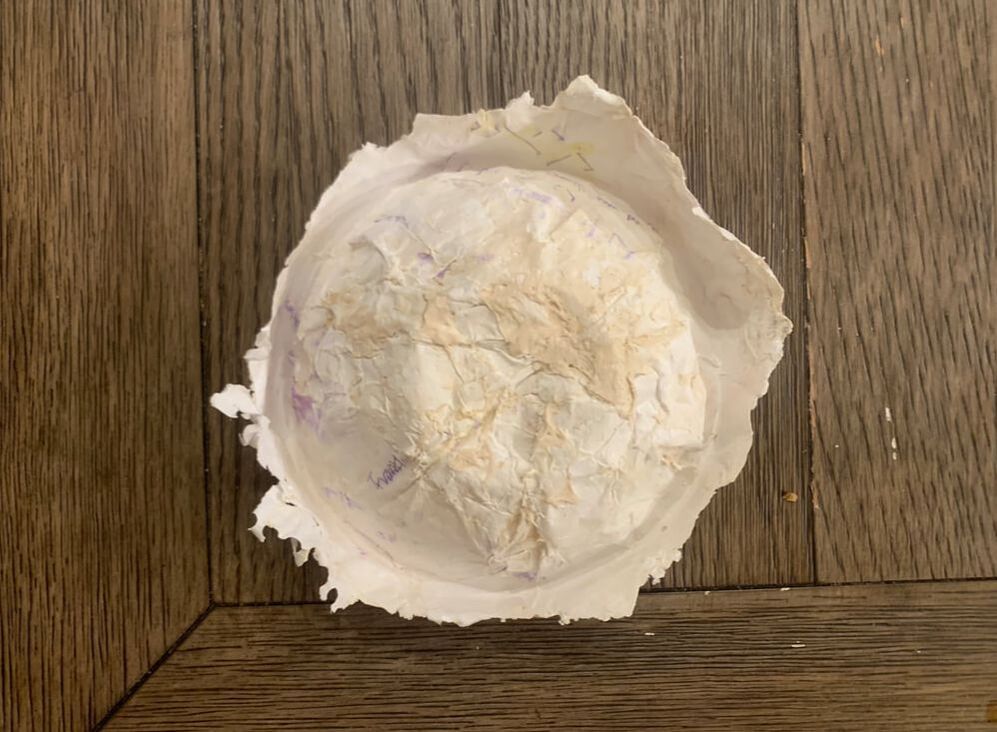
Leave it until it is completely dry (may take up to 12 hours). When it is fully dried, it will look like the images below. If you think it's not sturdy enough you can always add more layers! You can also cut out or scrape away some parts that you don't like.
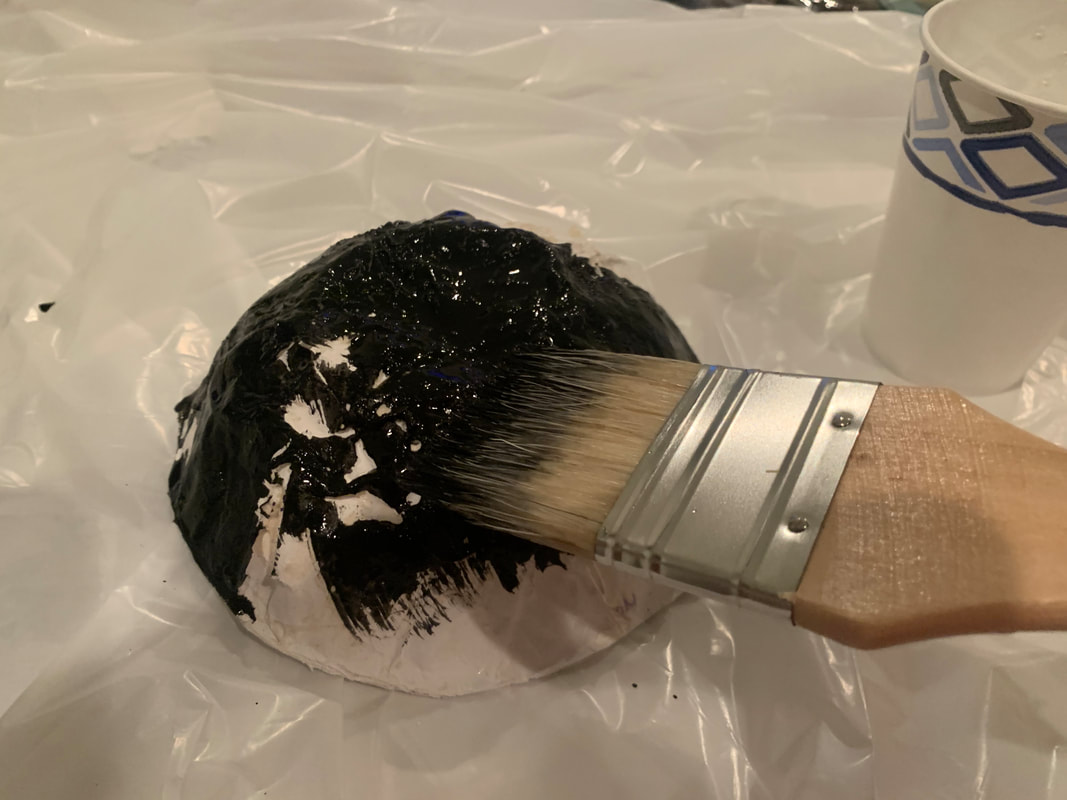
Step 7 : Time to decorate !
Once the base looks how you want, it is time to decorate! Check out the other pages to see what other materials you can use when creating your sculpture!


