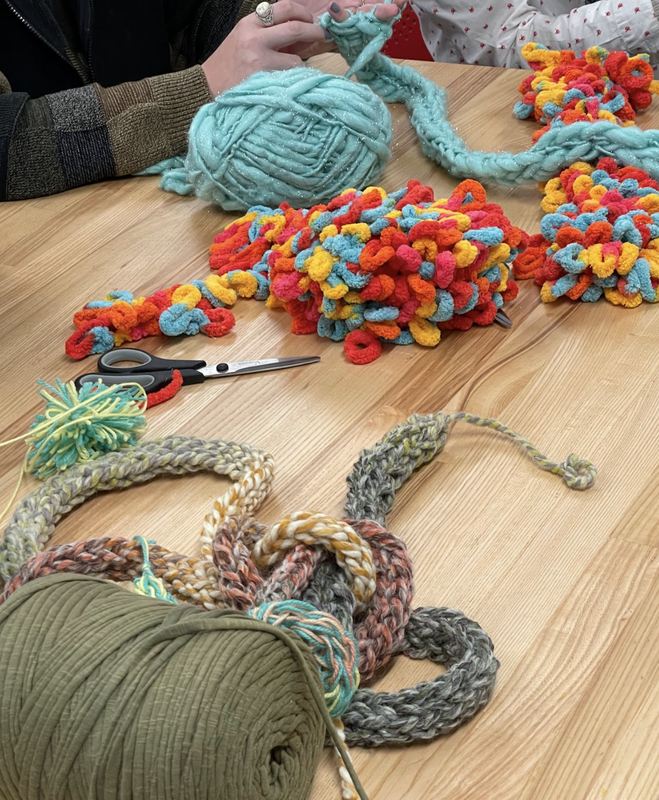
Let's Get Making!
|
Supplies
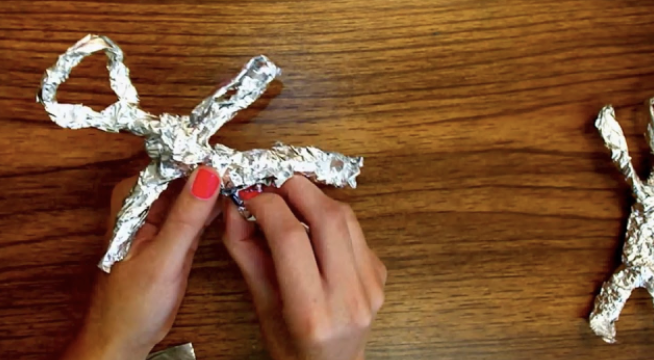
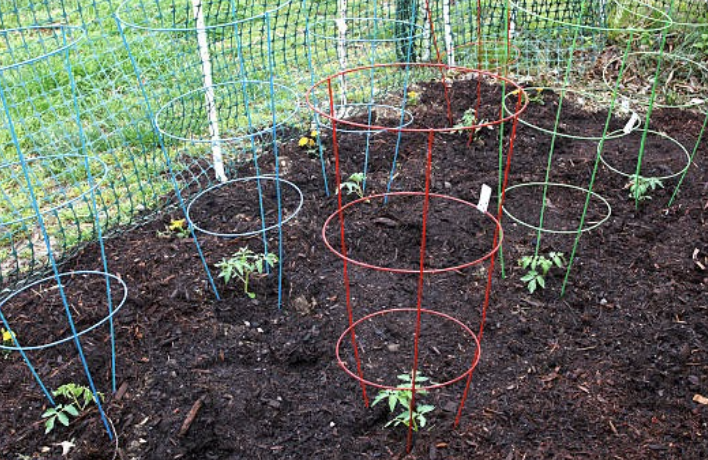
- Yarn (variety of textures & colors) - Scissors - Armature - Your hands! Armature Options - Tomato cage - Stair or balcony railing - Tin foil & wire |
|


Finger Knitting Steps
|
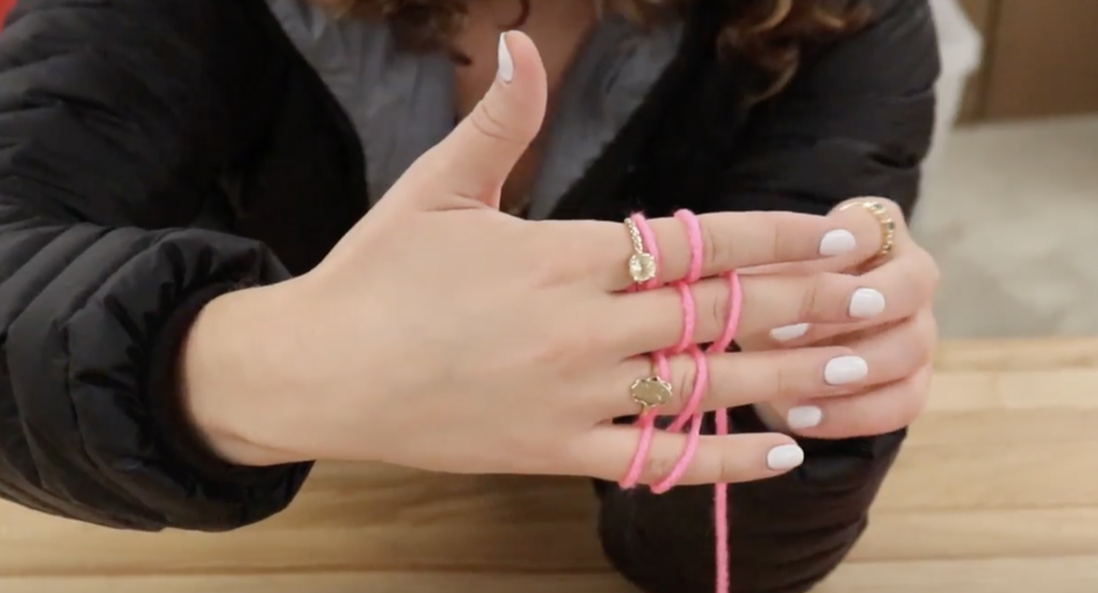
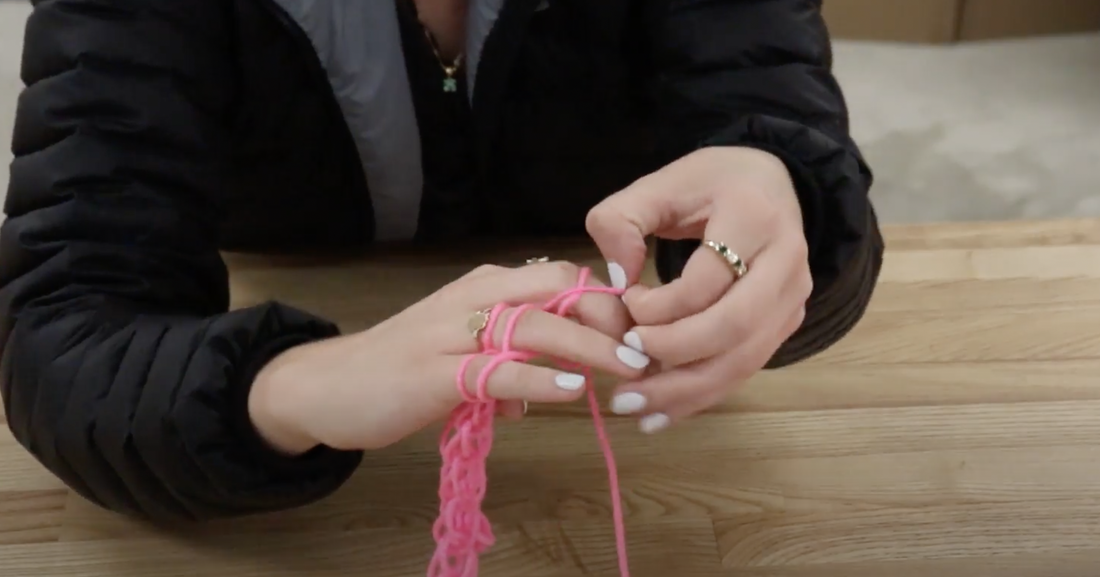
1. First, take about 6 Inches of your yarn, and clamp it between your thumb and forefinger, with the bundled end sitting behind your fingers.
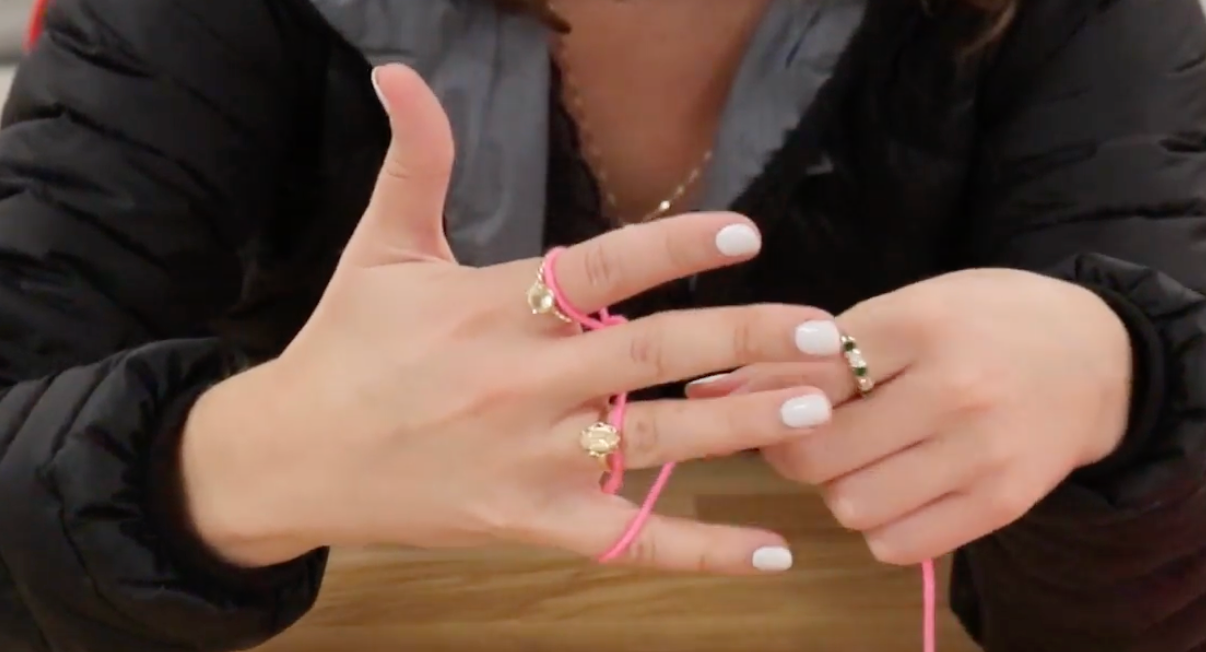
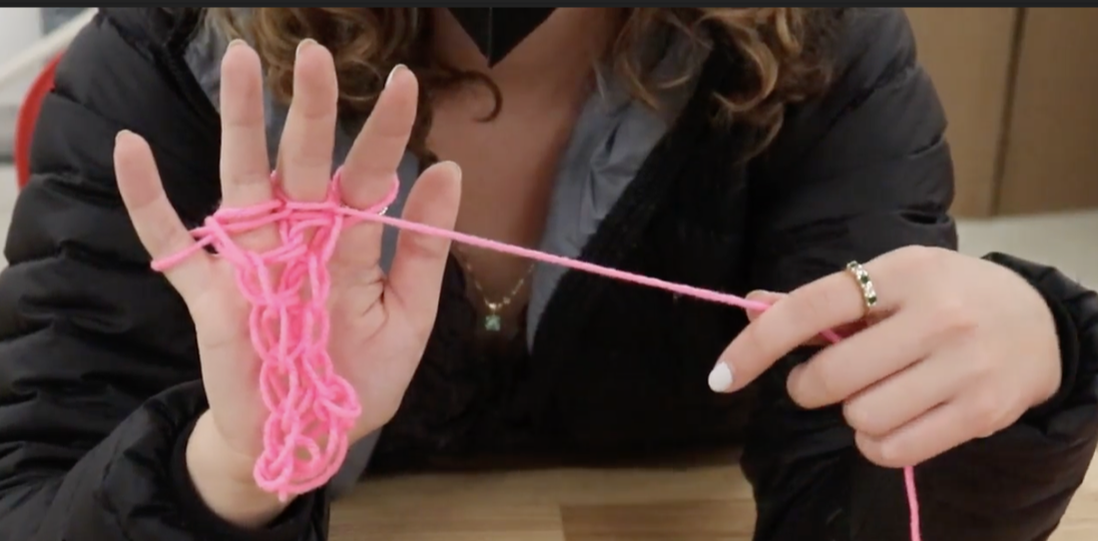
2. Wrap the yarn back and forth between all four fingers, leaving the tail clamped in-between your thumb and forefinger. 3. Keep wrapping until you have two loops of yarn on your upward facing fingers. 4. Take the bottom of the two loops, then bring it up and over your finger. (Repeat this on all four fingers) 5. You will now have one loop on each finger. Wrap the yarn back and forth like you did in step 2 until you have two loops once again. 6. Repeat the process of pulling the yarn up and over, then wrapping until you have two loops, until you reach your desired length. |

|

|
|
Pom Pom Steps
|
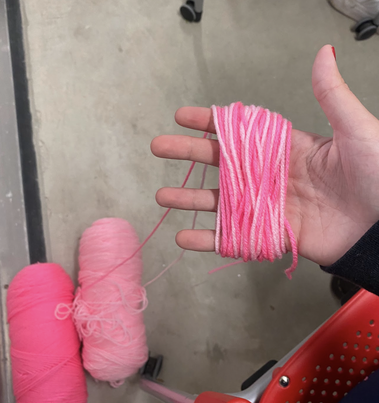
1. Cut one piece of yarn about 6 inches long. Place this in your non-dominant hand, draped in between your middle and ring finger.
2. Take the end piece from the ball and begin wrapping the wire around the same hand repeatedly, until there are a few inches of wrapped yarn covering your fingers. 3. Take the ends from the short piece you cut, tying the ends together, cinching the bundle of yarn in the middle. 4. Cut the loops of yarn to create individual pom pom pieces. 5. Shake it around to create volume and you’ve got a pom pom! |
|
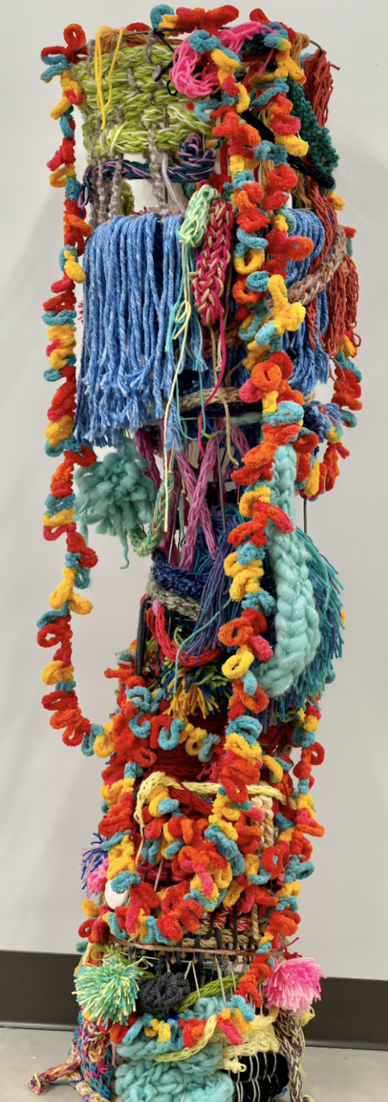
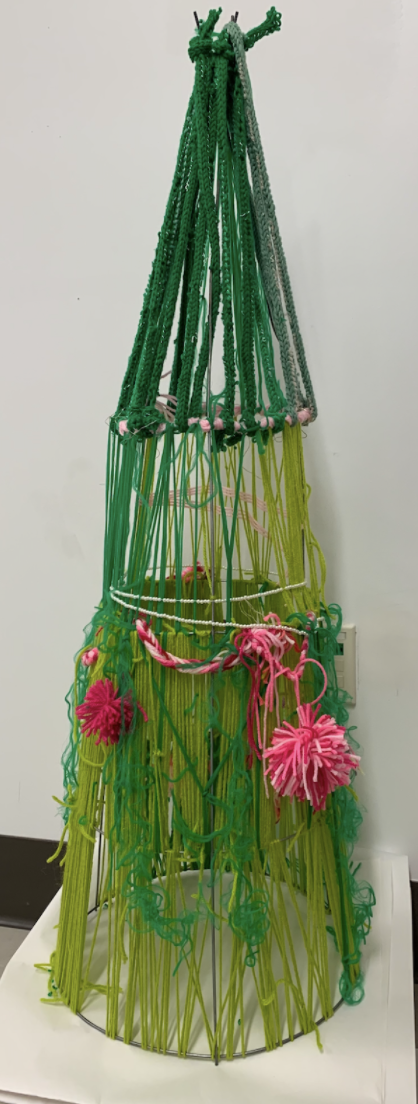
Putting it all together!
Based on the armature you choose, you might decide you want more depth or layers to work with. Don’t be afraid to alter your base to create something new!


Think about...
|
What does it look like inside?
How many layers can you add? Any hidden details? |
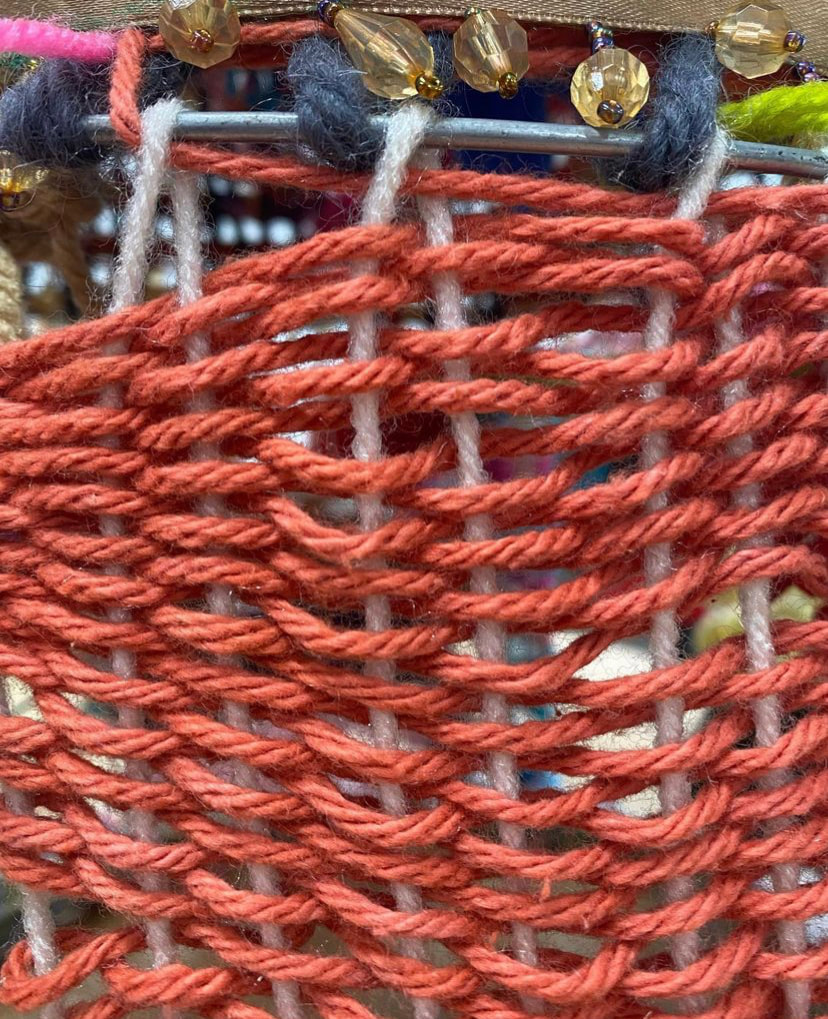
Wrap around the armature...
Move, twist, rotate... Weave elements together... |
|
|
Need More Inspiration?